

Abstract
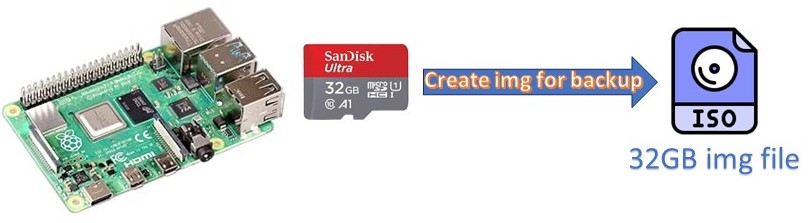
If you wanted to create a backup image of the SD card of your Raspberry, the result would be a file with the same size as the memory card, even though most of the memory space is not utilized. You probably want to reduce image size of Raspberry OS.
The solution is to shrink the partition to reduce the size of the image.
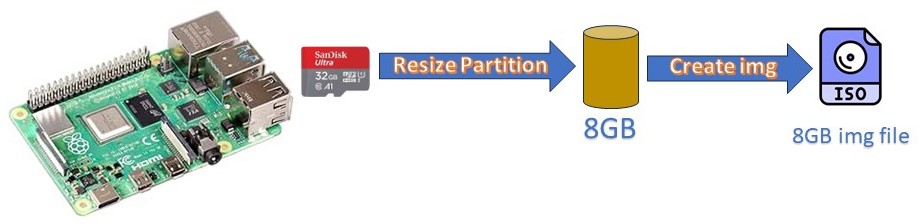
The resulting image file is significantly smaller, with a substantial optimization in terms of occupied memory space.
Introduction
The problem is well-known: you need to create an image of your Raspberry’s memory card, perhaps to make another identical one or just to have a backup in case the memory becomes corrupted. At the same time, you would like to reduce image size of Raspberry OS as much as possible.
The operation is quite simple. From Windows, using the Win32DiskImager program, you can create a .img file that is an exact copy of the card. Save it somewhere, and when needed, you can use the same program to flash a new card and have an exact copy of your system.
So, what’s the problem ?
The Raspbian operating system, along with any additional software you may have installed, typically doesn’t exceed a few gigabytes. Let’s say you have it installed on a 16GB SD card, initially occupying only 4GB. Later, you decided to extend the partition to the entire available space (which is a logical choice to utilize the full capacity of your card). At this point, if you need to create a backup image, you’ll end up with a 16GB file, representing the size of the entire partition, i.e., the entire SD card.
For backup operations, it would be useful to reduce the size of the image as much as possible. This way, you’ll have at least two advantages:
- The storage space of your backup copy is reduced to the bare minimum necessary.
- You can flash a card of any size as long as it is larger than the size of your image file.
Additionally, you need to consider that not all SD cards are the same. Therefore, even if your intention is to use an SD card of the same size as the original one (let’s say 16GB), you might still encounter space issues. This is because, despite being labeled as 16GB on the packaging, there could be a few bytes less, making it slightly smaller and potentially causing issues during the writing operation.
The solution: shrink the partition to reduce image size of Raspberry OS
At this point, the solution is clear. You need to shrink the partition of the SD card you want to back up to the bare minimum. From this reduced partition, you create the .img image file, which will then have the minimum size required to contain only the necessary information, excluding empty space.
PROCEDURE TO REDUCE THE IMAGE SIZE OF RASPBERRY OS IMAGE
Procedure tested and functional with the Windows operating system.
Materials and necessary software
- The original SD card containing the operating system of your Raspberry Pi, of which you want to reduce the occupied space.
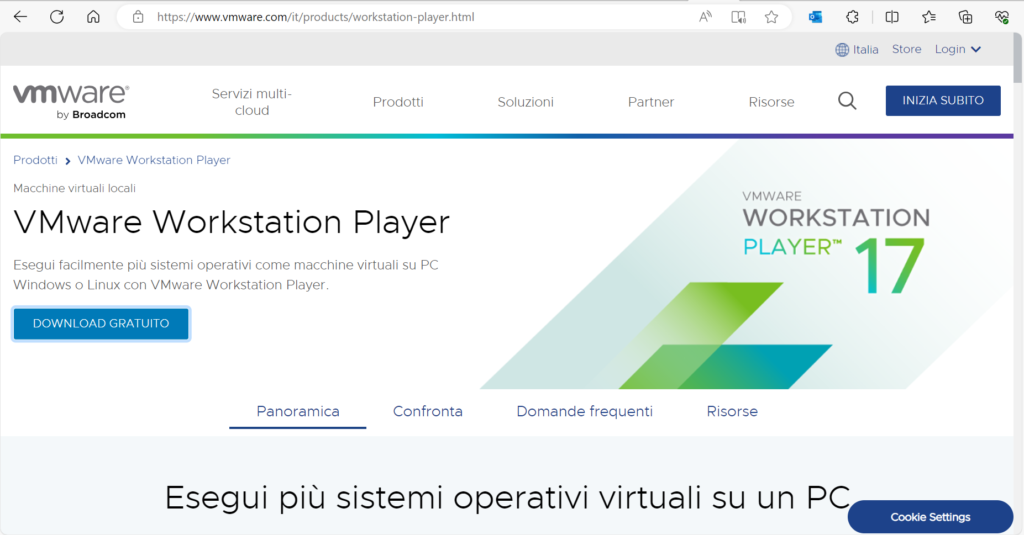
- VMWare Workstation Player software. This program allows you to run an operating system on your PC in a virtual environment. The latest version is available at this link; if it has changed in the meantime, you can easily find it using any search engine by typing VMWare Workstation Player.
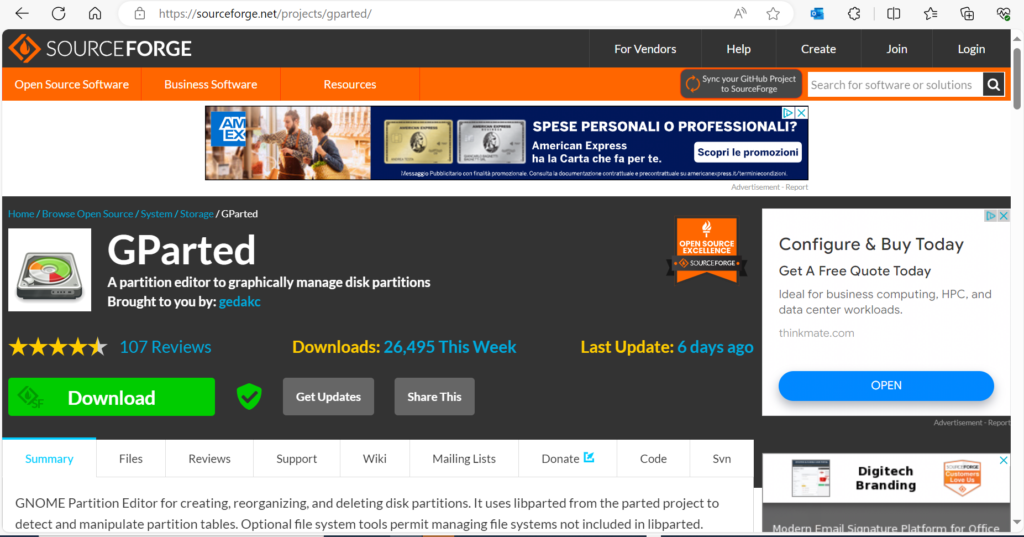
3. The bootable image of the GParted software, which is available here. If you can’t find it, search for “GParted Live ISO.” Save the .iso file to your hard disk.
1.Install VMWare
Install the VMWare Workstation Player software that you downloaded earlier
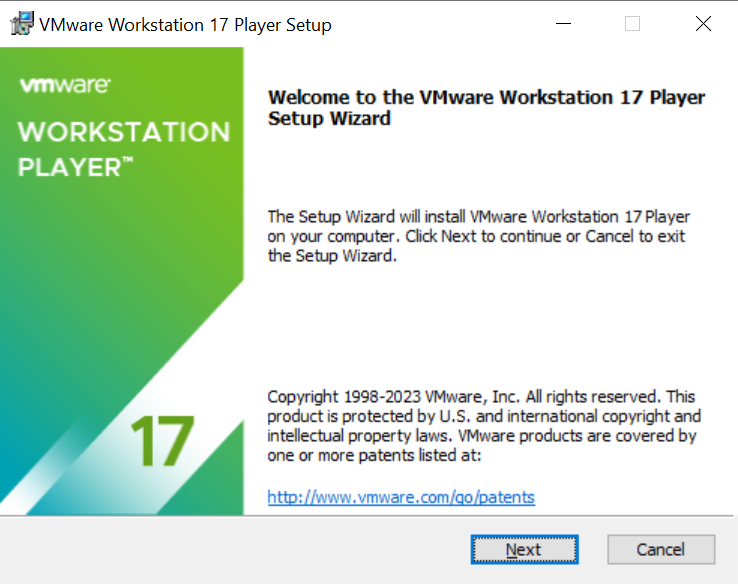
Leave the default settings and proceed with the installation.
After the installation is complete, double-click on the VMWare Workstation Player icon that appeared on the desktop to launch the program.
2. Creating a virtual machine
On the Welcome window, click on “Create New Virtual Machine”.
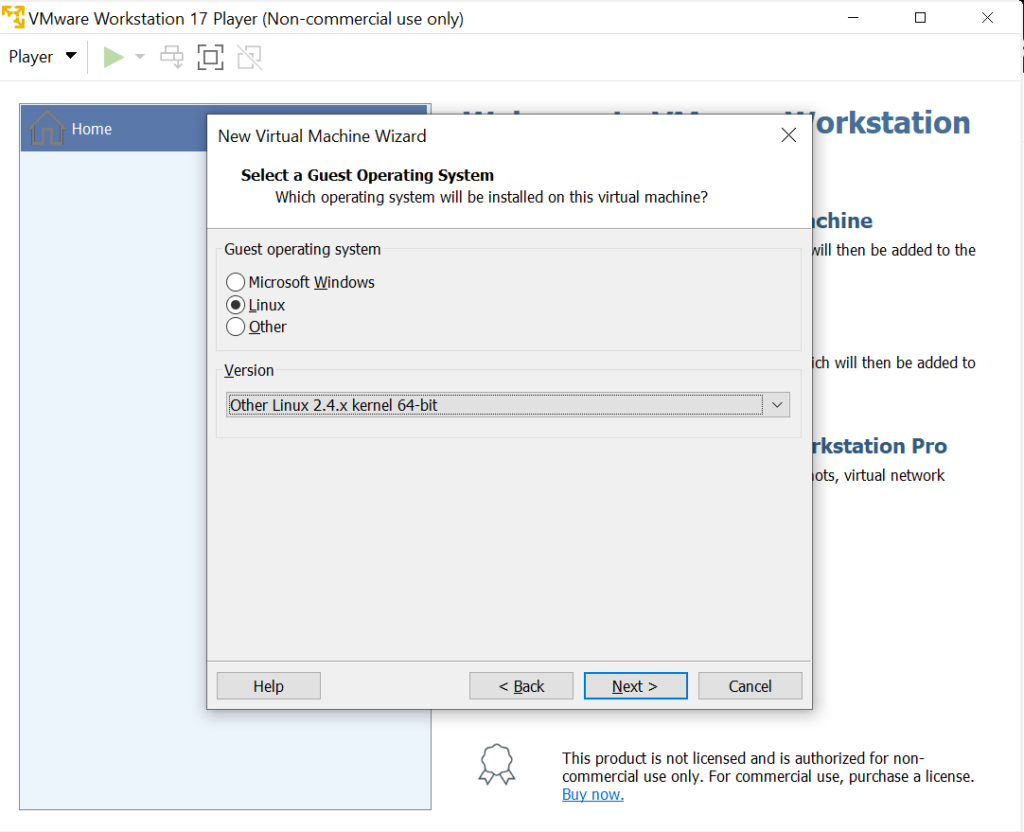
Select the previously downloaded GPartedLiveImage.img file. Press Next. Choose “Linux” as the guest operating system and then select “Other Linux 2.4.x kernel 64-bit” as the version.
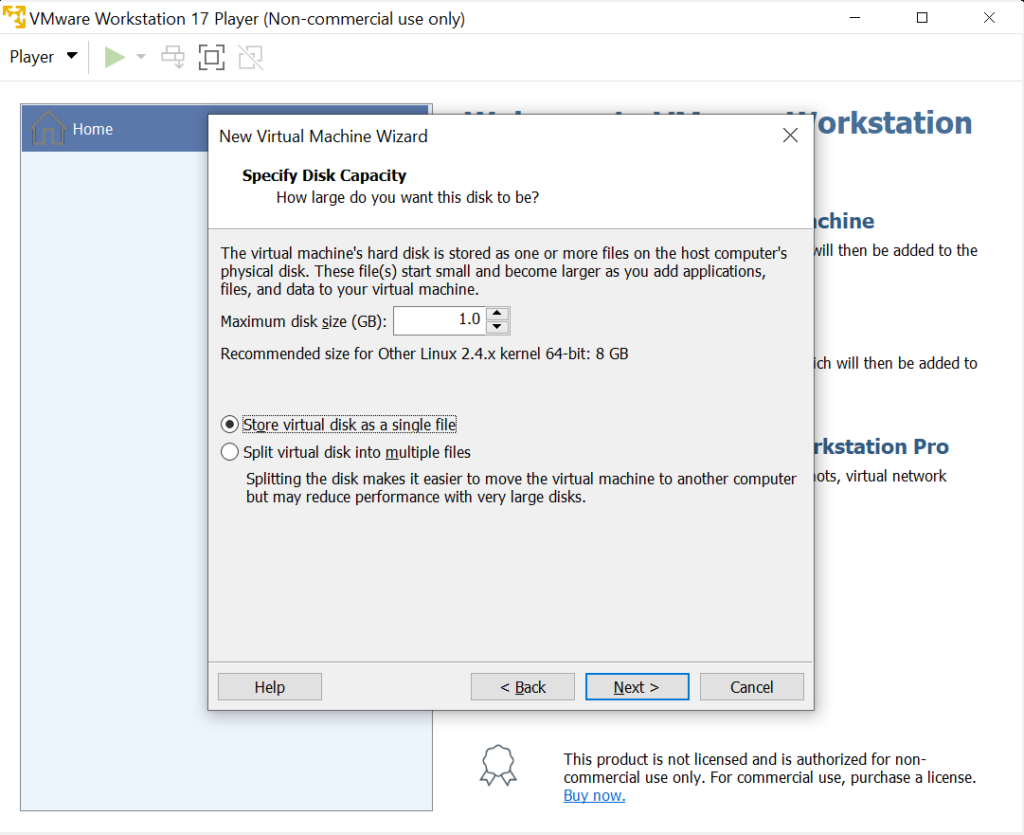
Continue leaving the proposed one as the Virtual Machine Name
In the Specify Disk Capacity window put 1GB and “Store Virtual Disk as a single file” then press Next and finish.
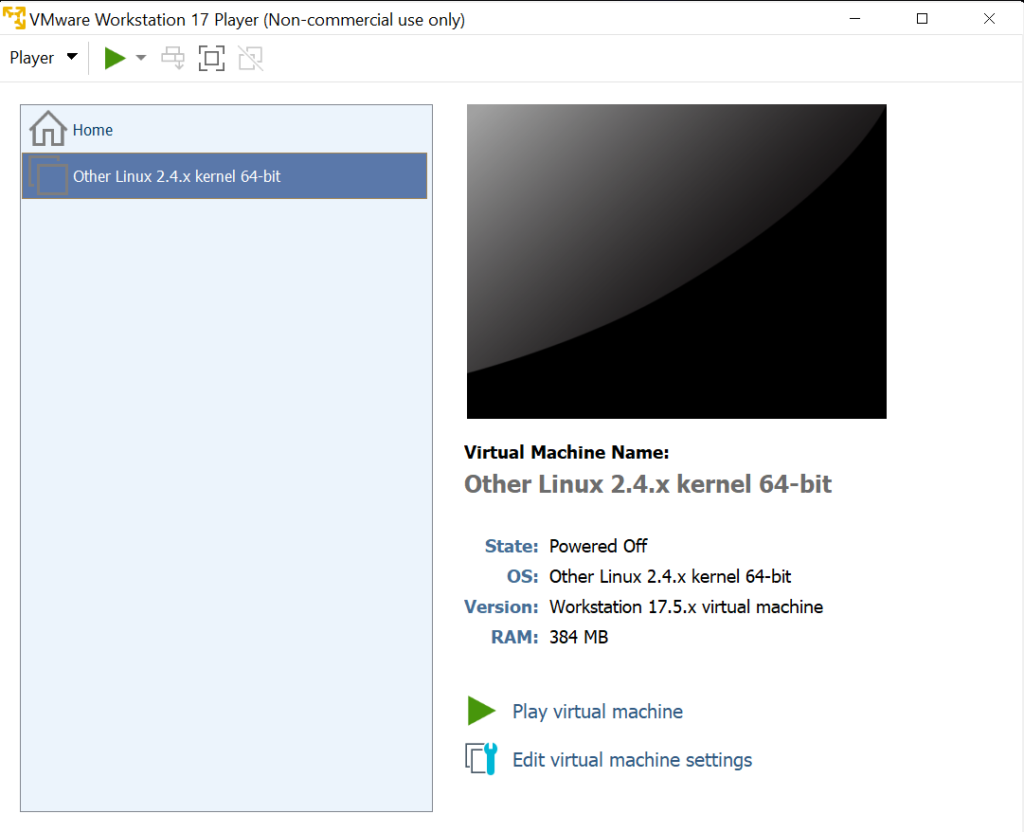
3. Run the virtual machine created in step 2
Select the appeared VM and press Play to start it.
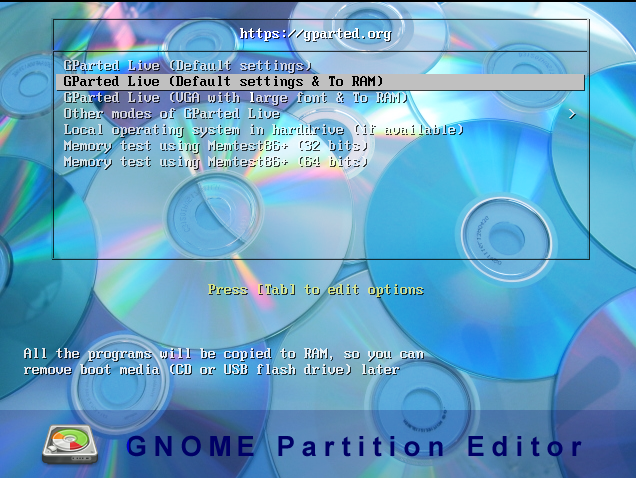
Once the GParted menu appears, select the first option: “GParted Live (Default settings)”.
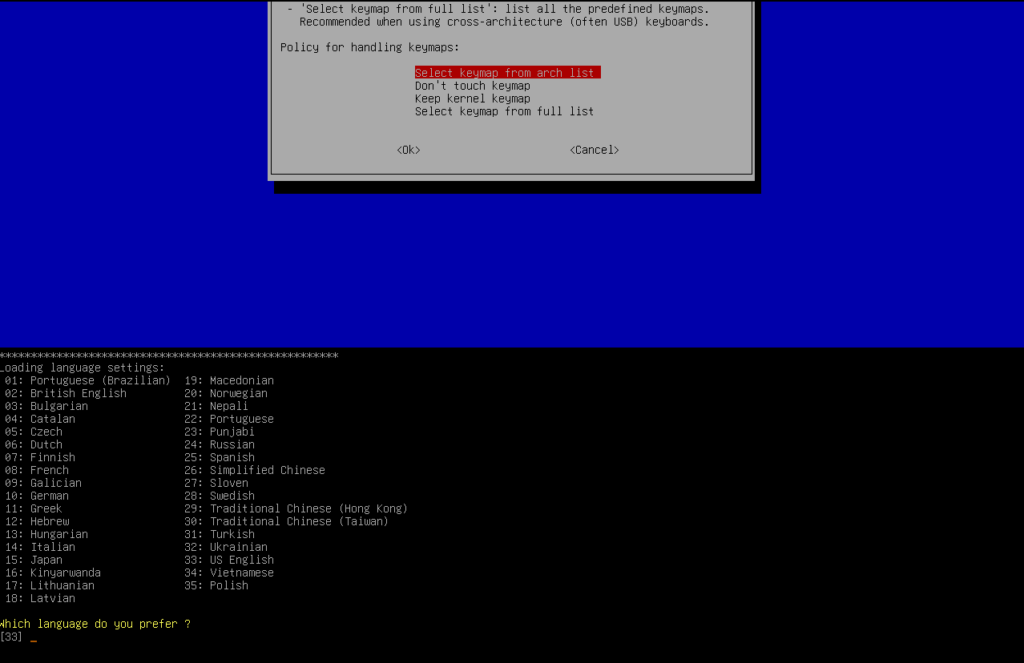
At the blue-screened prompt that asks “Select Keymap,” you can choose the first option, “Select keymap from arch list,” and set the keyboard of your preference.
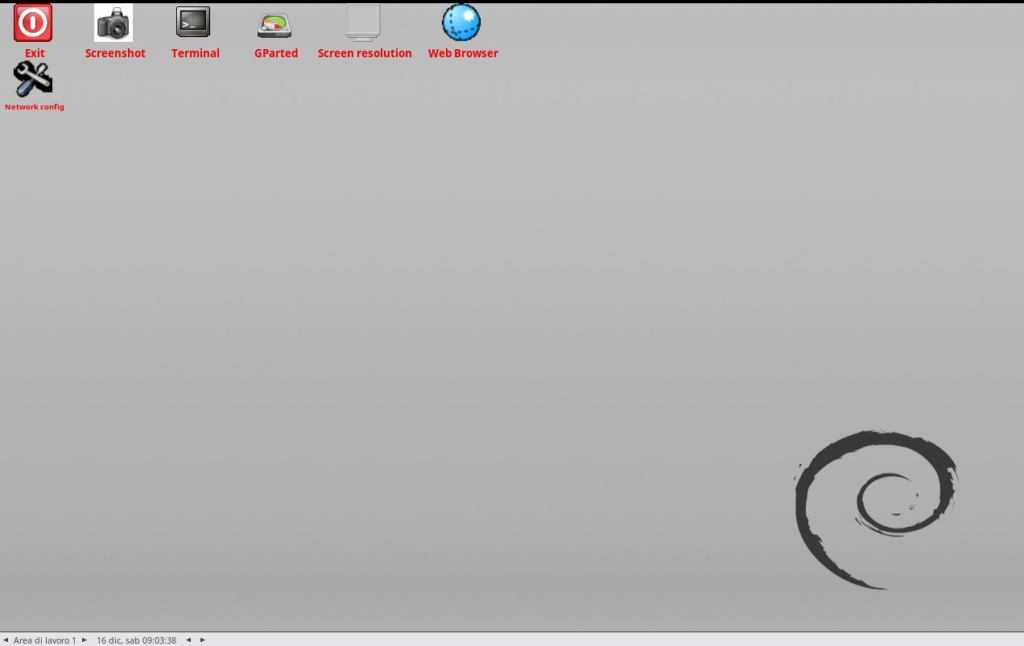
4. Run GParted
Select the GParted icon and launch the program (click once on GParted; it takes a few seconds to open).
Insert the USB drive with the card (or insert the card into the reader) and then connect it to the VM.
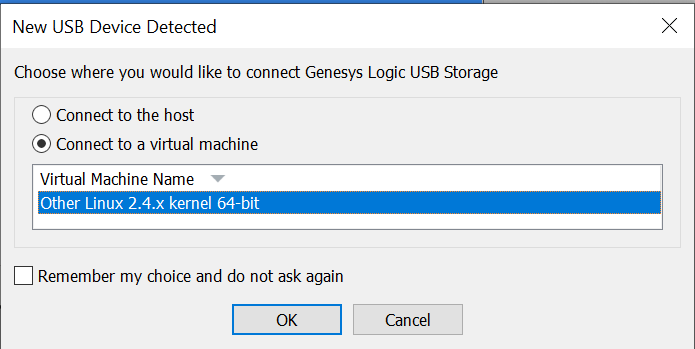
It will be displayed in the top right among the connected devices.
Close GParted and reopen it.
The connected device should now be selectable in GParted.
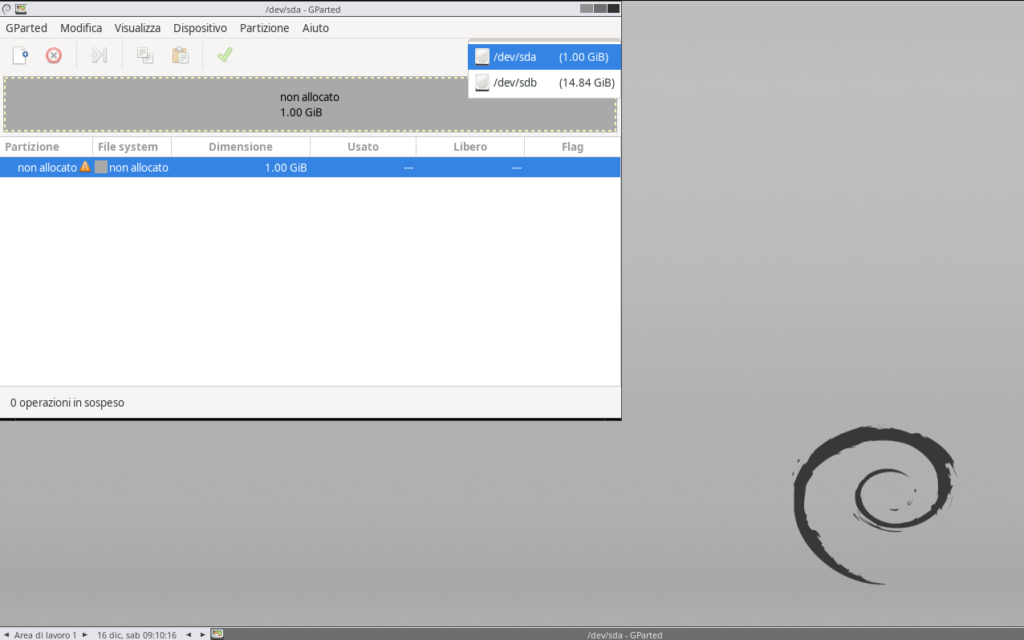
Select it, and the current partition will appear.
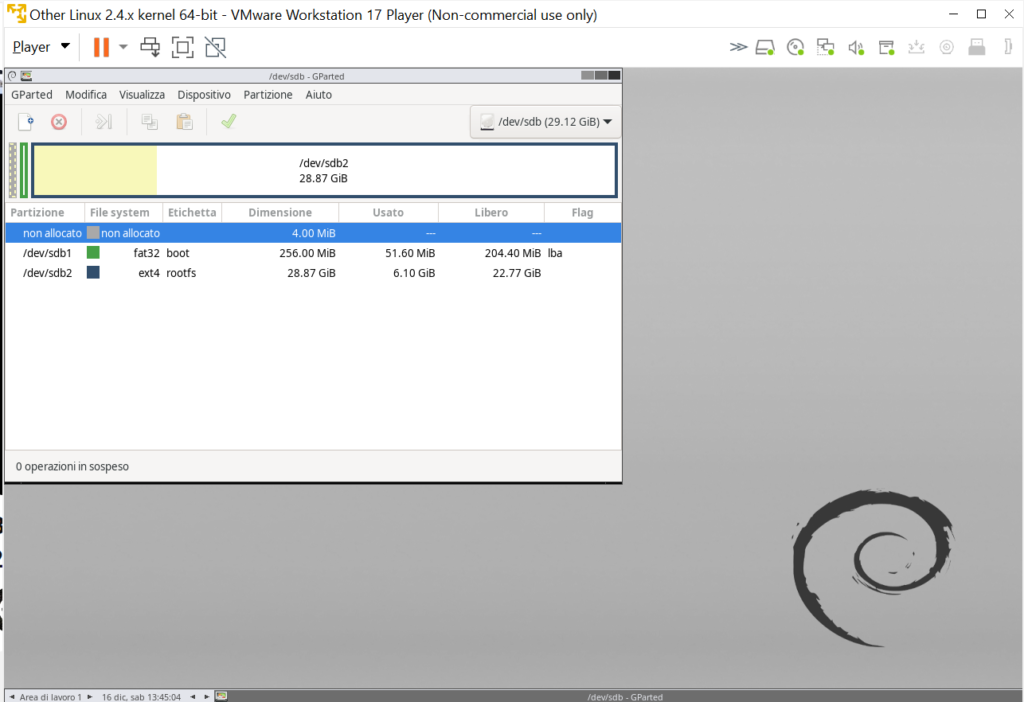
From the graphics, it’s clear that this is a 32GB SD Card, of which only a minimal part is utilized, more precisely:
- 4MB unallocated
- 256MB for the boot partition
- About 29GB, of which only 6GB (the yellow part) is used, while the vast majority, nearly 23GB, is free.
If we were to create a backup of this card, we would end up with a 32GB image file, of which 23GB are empty. It’s an unnecessary waste of storage space.
What we will do is reduce the partition from 28.87GB to include only the data part (the yellow part) plus a little margin.
5. Partition reduction to shrink image size of Raspberry OS
Select the larger partition (in the example above, the one with 28.87GB, but in your case, it might be a different size) and click on Resize/Move.
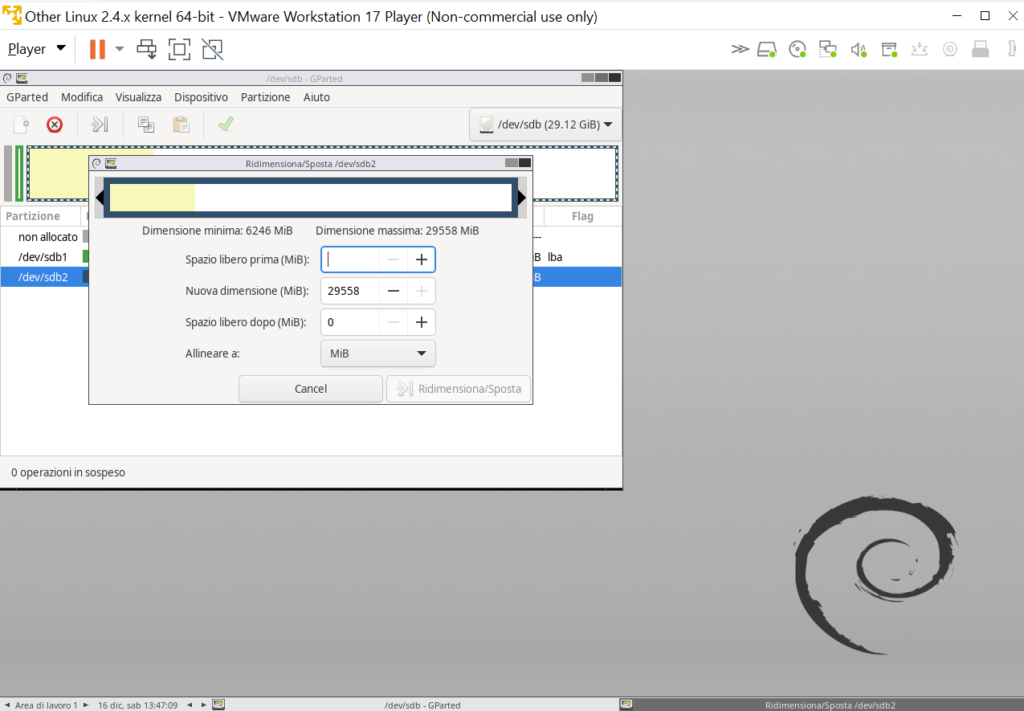
Drag the blue frame to reduce the partition. It’s important to leave a free portion and not reduce it completely to the yellow part.
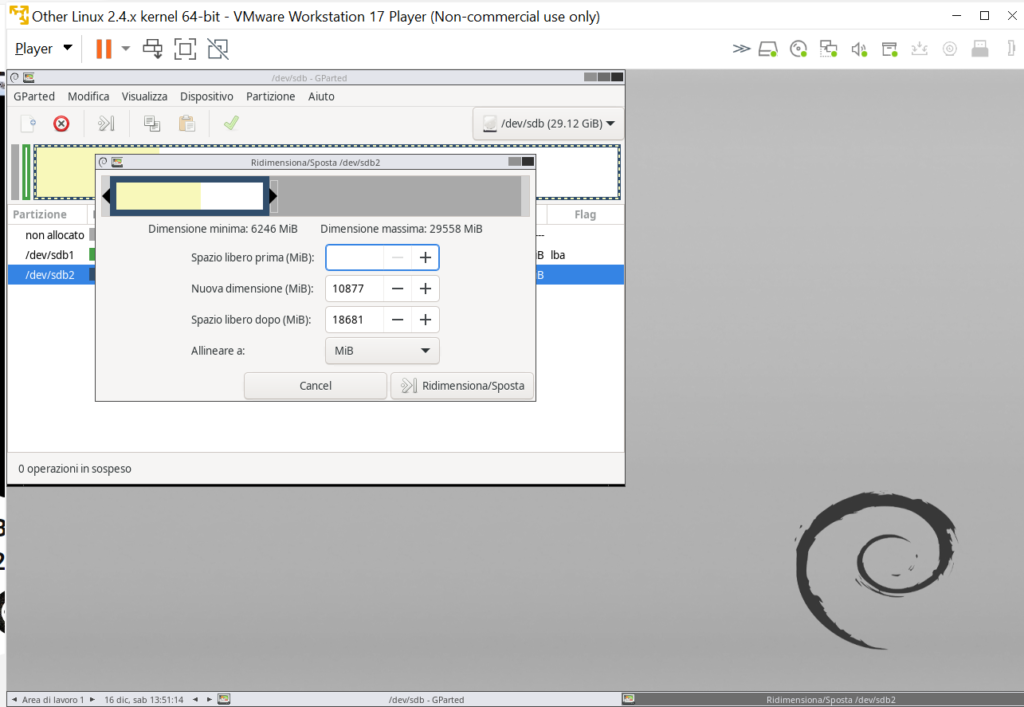
Then press Resize/Move.
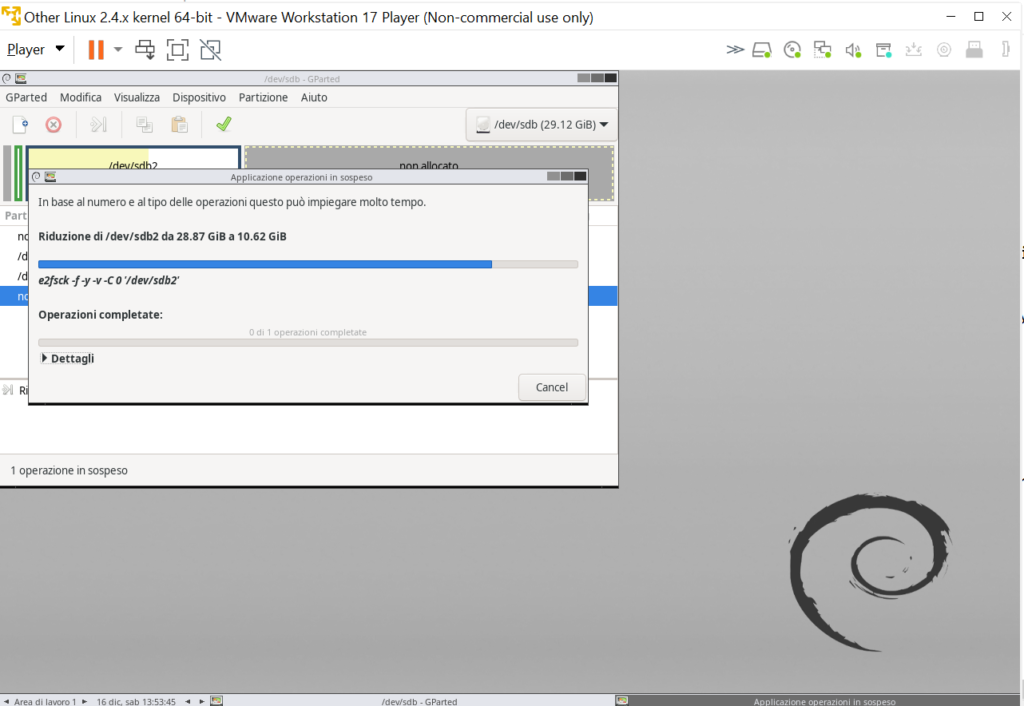
Click on the green checkmark (Apply) and let it complete the partition.
PROCEDURE FOR BACKING UP THE SD CARD CONTAINING THE OPERATING SYSTEM
Once the partition that occupied the entire space without containing useful data has been reduced, we are very close to our goal, which is to reduce the size of the image. Let’s proceed with the backup.
Exit the VM and open Win32DiskImager in Windows.
On the right, select the USB containing the just repartitioned operating system, and in the central selection, choose the location to save the image and the name to give it (add the .img extension).
IMPORTANT: Check “Read Only Allocated Partitions.” This way, it will read from the SD card and write to the .img file only the partitions that have been allocated.
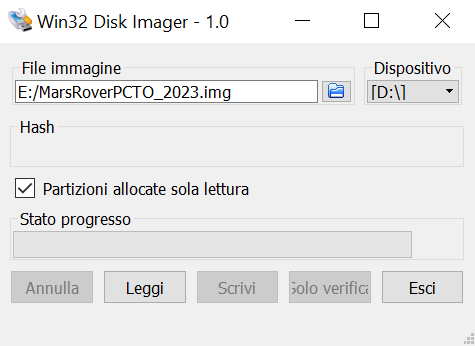
In the example above, the D: drive corresponds to the USB drive with the SD card containing the operating system for which we want to create the backup image. The image will be saved on the E: drive with the name MarsRoverPCTO_2023.img.
Of course, in your case, the read and save locations as well as the names to give to the files will be different.
Click on “Read” and wait for the operation to complete.
Once finished, check the size of the created .img image file. It will be significantly smaller than the size of the entire SD card. You can then archive it with a considerable saving of space. The goal of reducing the image size od Raspberry OS has been achieved.
Credits : Backup and Shrink Raspberry Pi Image in Windows
OTHER LINKS
FOOD FESTIVAL ORDERING AND MANAGEMENT SYSTEM (lambdaprogetti.it)
Welcome !!!